
Quick Summary: Understanding soap holder terms like “drainage,” “suction cup,” and “wall-mounted” helps you choose the best alternative for your needs. This guide breaks down common soap holder types, their benefits, and how to pick one that keeps soap dry and your space tidy, avoiding common frustrations.
Is your soap constantly a gooey mess, turning your sink or shower ledge into a sticky situation? You’re not alone! That little bar of soap can be surprisingly tricky to manage. Understanding different soap holder terms might seem like DIY jargon, but it’s key to finding a solution that actually works. We’ll demystify these terms and show you the best alternatives to keep your soap high and dry. Get ready to say goodbye to soap scum and hello to a cleaner, tidier bathroom!
Let’s dive in and make your shower experience a little bit better, one dry bar of soap at a time.
Understanding Basic Soap Holder Terms
Before we explore alternatives, let’s clear up some common terms you’ll see when shopping for soap holders. Knowing these will help you make an informed choice and avoid confusion.
1. Drainage
This is probably the most crucial feature for any soap holder. Good drainage means that water easily escapes from the bottom of the holder. This is vital because sitting in water is what turns your nice, solid bar of soap into a mushy, dissolving mess. Look for holders with:
- Sloped designs
- Perforated bottoms
- Openings that allow air circulation
When a soap holder offers good drainage, your soap lasts longer, stays firmer, and doesn’t leave a gunk trail.
2. Mounting Type
This refers to how the soap holder is attached to your wall or kept in place. The most common types are:
- Adhesive: Uses strong, sticky backing to attach to smooth surfaces. Easy to install and remove, but might not be suitable for all wall types or heavy loads.
- Suction Cup: Relies on vacuum pressure to stick to smooth, non-porous surfaces like glass or tiles. Simple to attach and re-position, but can lose suction over time.
- Screw-In/Drilled: The most permanent and secure option, involving drilling holes and screwing the holder into the wall. Best for heavy-duty use or where long-term stability is paramount.
- C-Clip/Hanging: Designed to clip onto the edge of shower caddies or shelves, or hang from shower heads. No adhesive or drilling required.
- Freestanding: These holders sit on the counter or shower shelf and don’t attach to anything. They are portable and require no installation.
3. Material
The material affects durability, style, and ease of cleaning. Common materials include:
- Plastic: Lightweight, affordable, and often comes in many colors. Can sometimes look less premium and may degrade over time with UV exposure or harsh cleaners.
- Stainless Steel: Durable, rust-resistant, and offers a modern look. Can be more expensive but lasts a long time.
- Ceramic: Offers a classic or decorative look, often heavy and stable. Can chip or break if dropped.
- Bamboo/Wood: Provides a natural, spa-like aesthetic. Needs to be treated to withstand moisture and can eventually warp if not properly maintained.
- Silicone: Flexible, often used for flexible types that can adapt to different surfaces or in molds. Easy to clean.
4. Capacity/Size
This refers to how many bars of soap the holder can accommodate and the dimensions of the holder itself. Some holders are designed for a single bar, while others might have multiple tiers or larger compartments for larger specialty soaps.
5. Design Style
This is about aesthetics! Does it fit with your bathroom decor? Options range from minimalist and modern to ornate and vintage.
Soap Holder Terminology vs. Essential Alternatives
Now that we’ve defined the terms, let’s look at the most common types of soap holders and their practical alternatives, focusing on what actually keeps your soap in top condition.
Alternative 1: The Classic Draining Dish
This is what most people picture when they think of a soap holder. It’s a small dish, usually with raised edges, designed to sit near your sink or in your shower. The “drainage” aspect here is key.
- Key Feature: Raised edges and often some form of drainage slots or a slightly sloped design.
- Pros: Simple, widely available, generally inexpensive, doesn’t require installation.
- Cons: If the drainage isn’t effective, soap can still get slimy. Can take up counter or shelf space.
- Best For: Those who prefer no-installation options and have a dedicated spot on a counter or shower shelf.
Alternative 2: The Wall-Mounted Wonder (Adhesive or Suction)
These are fantastic space-savers. They attach directly to your shower wall or bathroom tiles, keeping your soap elevated and out of the water.
- Key Features: Draining holes and a secure wall attachment system (suction or adhesive). Some have a removable tray for easy cleaning.
- Sub-Types:
- Suction Cup Soap Holders: Easy to install and move. Best on very smooth, non-porous tiles or glass. Ensure the suction cup is large and robust, and the holder itself has plenty of drainage. Visit Consumer Reports for general home fixture advice to understand surface compatibility.
- Adhesive Soap Holders: Often use strong 3M VHB tape. More permanent than suction cups and work on a wider variety of smooth surfaces. Look for those with a removable dish or basket for cleaning.
- Pros: Saves counter/shelf space, keeps soap visible and accessible, good drainage can significantly extend soap life.
- Cons: Adhesive can damage paint or wallpaper if removed improperly. Suction cups can fail.
- Best For: Small bathrooms, showers with limited shelf space, or anyone who likes a minimalist look.
Alternative 3: The Shower Caddy Attachment
If you have a shower caddy that hangs over your shower head or attaches to the curtain rod, you might find soap dishes designed to clip directly onto it.
- Key Features: A clip-on mechanism and, ideally, drainage holes.
- Pros: Utilizes existing shower structures, no drilling or adhesives needed, keeps soap within easy reach in the shower.
- Cons: Can make the shower caddy look cluttered. Might not fit all caddy types. Drainage can be an issue if the design is poor.
- Best For: Those with existing shower caddies who want an integrated soap solution.
Alternative 4: The Magnetic Solution
This is a clever and often very effective option. It involves a small metal disc that you press into your bar of soap, and a magnetic holder that attaches to your wall (usually with an adhesive backing or screws).
- Key Features: Strong magnet and a docking piece with a disc. The soap hovers, allowing for excellent air circulation.
- Pros: Excellent drainage because the soap is suspended, very minimalist appearance, keeps soap out of water completely, easy to clean around.
- Cons: Requires something to be embedded in the soap (though it’s usually small and doesn’t affect use). The magnet needs to be strong enough.
- Best For: People who love a super clean look and want the absolute best drainage for their soap.
Alternative 5: The Soap Saver Bag/Pouch
This is less of a “holder” and more of a storage solution that also allows lathering.
- Key Features: Made of mesh or sisal material, designed to hold a bar of soap. You lather the soap inside the bag.
- Pros: Excellent drainage as the bag dries quickly, creates a rich lather for easy washing, can use up small soap slivers, portable.
- Cons: The soap is not “displayed” as it might be in a dish. The bag itself needs to dry out between uses.
- Best For: Travelers, those who want to use up soap scraps, or anyone looking for a simple, low-cost and effective way to keep soap dry.
Key Features to Look for in Any Soap Holder

Regardless of the specific type you choose, here are the non-negotiables for a good soap holder:
- Effective Drainage: As mentioned, this is paramount. Look for holes, sloped surfaces, or designs that allow air to circulate so water can escape quickly.
- Ease of Cleaning: Soap scum and residue are inevitable. Choose a holder that can be easily wiped down or has removable parts for hassle-free cleaning. Materials like stainless steel or a smooth plastic are generally easier to maintain than porous ceramic or untreated wood.
- Durability: You want something that will last. Consider the load the holder will bear (a wet bar of soap can be heavier than you think) and the environment (humidity, water exposure). Stainless steel and good quality plastics tend to be more durable than flimsy plastic or glass. For mounting options, ensure the adhesive is strong or the suction cups are of good quality. For screw-in types, use appropriate wall anchors—resources like those from the This Old House guide on hanging objects can offer valuable insights into secure mounting.
- Stability: It shouldn’t wobble or fall off the wall easily. For freestanding dishes, a heavier base is better. For wall-mounted types, ensure a secure attachment method that suits your wall surface.
- Size: Make sure it’s large enough for your preferred soap bars. Some artisanal soaps are larger than standard bars and won’t fit in a small, restrictive holder.
Comparing Popular Soap Holder Types
To help you visualize the differences, let’s put some of the most common soap holder types side-by-side:
| Soap Holder Type | Primary Mounting Method | Pros | Cons | Best For |
|---|---|---|---|---|
| Draining Dish | Freestanding | No installation, simple, affordable | Can take up space, drainage can be limited | Countertops, shower shelves, no-installation preference |
| Wall-Mounted (Adhesive) | Adhesive backing | Space-saving, secure grip on smooth surfaces | Can damage surfaces if removed, less flexible repositioning | Permanent or semi-permanent mounting, smooth walls |
| Wall-Mounted (Suction Cup) | Suction cup | Easy install/reposition, no damage to walls | Can lose suction, best on very smooth tiles/glass | Temporary solutions, renters, smooth bathroom surfaces |
| Shower Caddy Attachment | Clip-on | Uses existing fixtures, no drilling | Can clutter caddy, fit may be an issue | Integrated shower solutions, existing caddies |
| Magnetic Soap Holder | Adhesive or Screw-in (base) | Excellent drainage, minimalist, easy cleaning | Requires embedding a disc in soap, magnet strength is key | Sleek look, maximum soap longevity, modern bathrooms |
| Soap Saver Bag | Hanging/Freestanding (when dry) | Great lather, travel-friendly, uses soap scraps | Soap isn’t openly displayed, bag needs drying | Travelers, eco-conscious, using up small soap pieces |
Step-by-Step: Installing an Adhesive Wall-Mounted Soap Holder
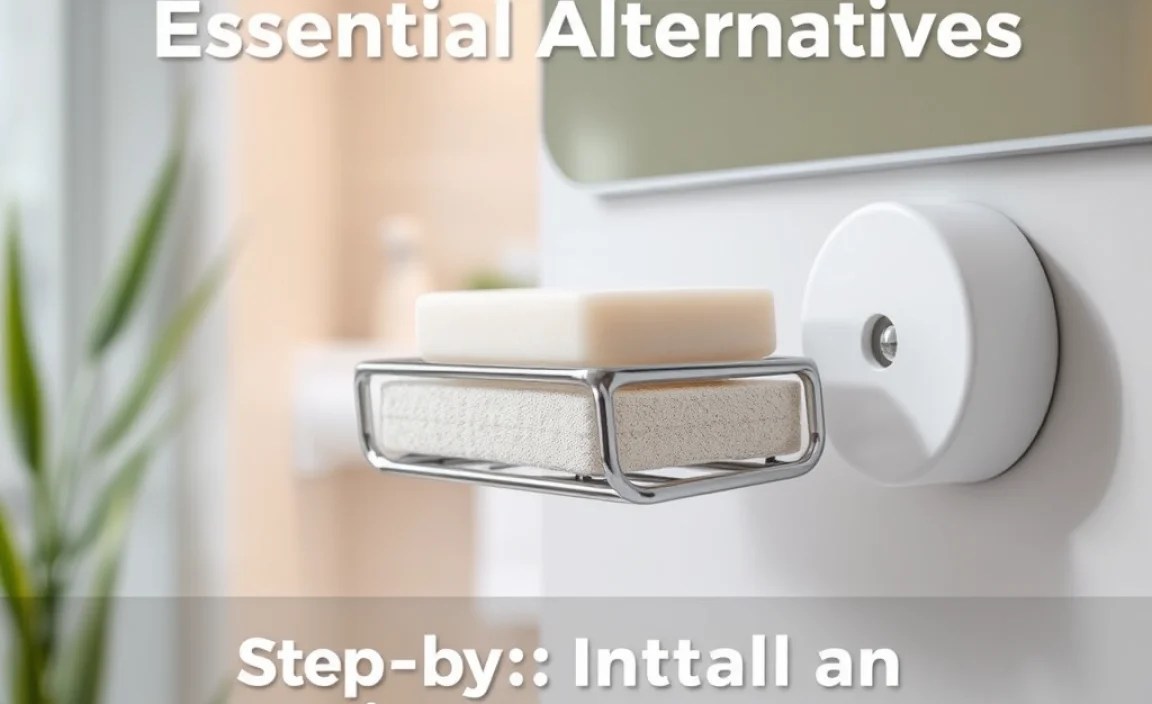
Let’s walk through installing one of the most popular choices: an adhesive wall-mounted soap holder. This is a great beginner project!
What You’ll Need:
- Your chosen adhesive wall-mounted soap holder
- A clean, dry cloth
- Rubbing alcohol (optional, but recommended for best adhesion)
- Patience!
The Steps:
- Choose the Location: Decide exactly where you want your soap holder. Make sure it’s within easy reach from where you stand in the shower or at the sink. Consider if you’ll be placing a large or small bar of soap.
- Clean the Surface: This is critical for good adhesion. Use your cloth to wipe down the area thoroughly. If the surface is very smooth and non-porous (like shiny tiles or glass), you can use rubbing alcohol for an extra clean. Make sure the area is completely dry afterward.
- Prepare the Holder: Remove the backing from the adhesive strip on the soap holder. Be careful not to touch the sticky part.
- Position and Press Firmly: Carefully place the holder onto the cleaned surface, aligning it as straight as possible. Once in position, press down firmly and evenly over the entire adhesive area for at least 30 seconds. This ensures good contact and helps the adhesive bond.
- Wait (Important!): Most adhesive products recommend waiting for a period – often 24 hours – before placing any weight on them. This allows the adhesive to cure fully and reach its maximum strength. Resist the urge to put soap in it immediately! Check the manufacturer’s instructions for the specific waiting time.
- Add Your Soap: After the curing period, you’re ready to place your bar of soap in the holder. Enjoy your clean, dry soap!
Remember that while many adhesives are strong, they might not work on textured, painted, or wallpapered surfaces. Always check the product packaging for suitability.
Maintaining Your Soap Holder
A little maintenance goes a long way in keeping your soap holder (and your soap) in great shape.
- Regular Cleaning: Wipe down the holder weekly with a damp cloth and mild soap. This prevents buildup of soap scum and mildew. Removable parts (like trays) can often be washed in the sink.
- Check Adhesion/Suction: For wall-mounted holders, periodically check that they are still holding firm. If a suction cup seems loose, remove it, clean the cup and the surface, and reapply. For adhesive holders, if you notice any lifting, it might be time to consider replacing it or using a stronger adhesive product (though be aware this can damage surfaces).
- Ensure Drainage is Clear: Occasionally check that the drainage holes aren’t clogged with soap residue. A gentle poke with a toothpick or a quick rinse can clear them.
FAQ Section
Q1: What does “good drainage” mean for a soap holder?
A: Good drainage means water easily flows away from the soap, preventing it from sitting in a puddle. This keeps the bar firm and prevents it from turning mushy.
Q2: Can I use a suction cup soap holder on a textured tile?
A: Usually not. Suction cups need a smooth, non-porous surface to create a vacuum seal. Textured surfaces prevent a good seal, so the suction cup will likely fall off.
Q3: How do I remove an adhesive soap holder without damaging my wall?
A: For many adhesive types, gently heating the adhesive with a hairdryer can soften it, making it easier to peel off. You may need to use a plastic scraper to help lift it. Always test this in an inconspicuous area first, and be prepared for potential paint touch-ups.
Q4: My soap keeps melting in the holder. What should I do?
A: First, ensure your current holder has good drainage. If it doesn’t, it’s time to switch to an alternative with better drainage, like a magnetic holder or a wall-mounted type with multiple holes.
Q5: Are magnetic soap holders safe for my bar soap?
A: Yes, they are very safe and often beneficial. A small metal disc is pressed into the soap, which then sticks to a magnet on the wall. This suspends the soap, providing excellent air circulation and preventing it from getting wet when not in use.
Q6: What’s the best soap holder for a shower with lots of steam?
A: For steamy environments, prioritize robust mounting and excellent drainage. Wall-mounted types (adhesive or screw-in), or a magnetic holder are generally best as they keep the soap away from excess moisture and splashes.
