
The structure of a toilet flange is a crucial, often unseen, component that securely connects your toilet to the drainpipe. Understanding its parts—the ring, the hub, and the screw holes—is key to preventing leaks and ensuring a stable toilet installation. This guide breaks down everything you need to know, even if you’re new to plumbing.
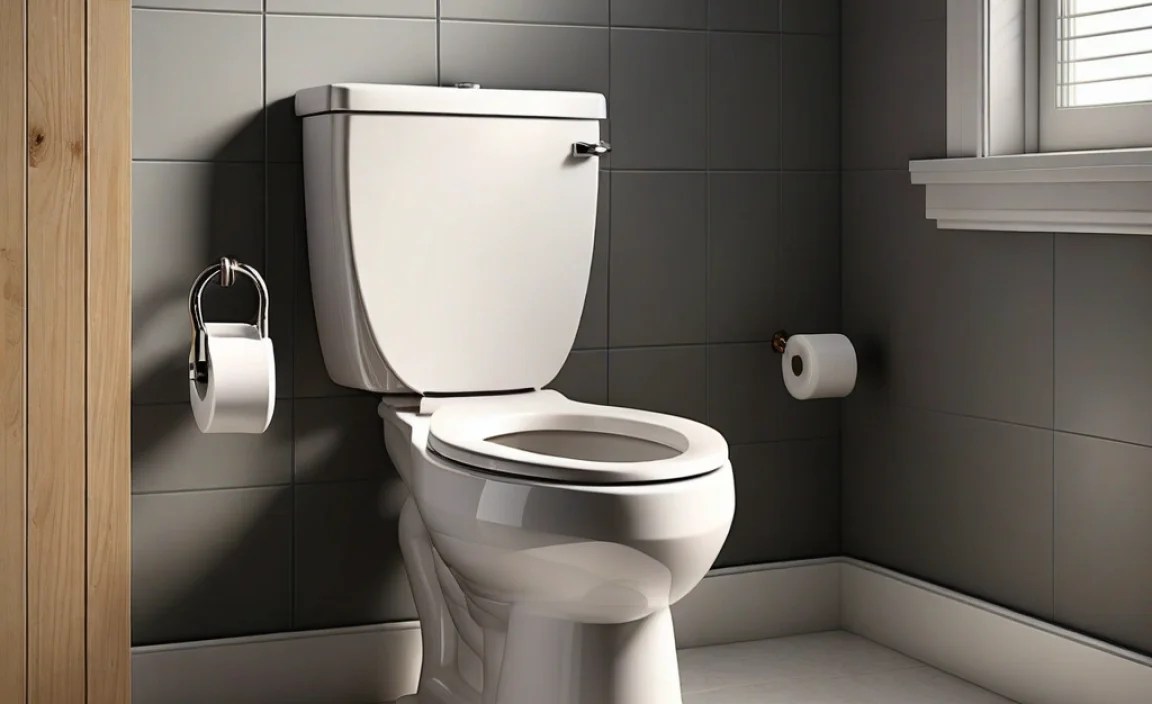
Your toilet might seem like a simple fixture, but hidden beneath it is a vital part that keeps everything working smoothly: the toilet flange. This often-overlooked piece is the unsung hero of your bathroom, bridging the gap between your toilet and the sewer pipe. When it’s not functioning correctly, you can end up with messy leaks, unpleasant odors, and a wobbly toilet. Don’t worry, though! Understanding the structure of a toilet flange is easier than you might think. In this guide, Bryan Lee will walk you through each part, explain its purpose, and show you why getting it right makes all the difference. By the end, you’ll feel confident about this essential plumbing connection.
What is a Toilet Flange and Why Does It Matter?

A toilet flange is essentially the connector that mounts your toilet to the floor and seals it to the drainpipe. Think of it as the foundation for your toilet. It’s typically a circular or semi-circular ring made of PVC, ABS, or brass, and it’s secured to the subfloor. The toilet then bolts directly to this flange, creating a stable base. More importantly, the flange creates a watertight seal with the toilet’s wax ring, preventing any wastewater from escaping onto your bathroom floor. A properly installed and sound toilet flange is critical for preventing sewer gas from entering your home and for ensuring your toilet stands firm. Issues with the flange are common causes of toilet leaks and instability, which is why understanding its structure is the first step to fixing or preventing these problems.
Without a good flange, your toilet could shift, leak around the base, or allow foul odors to seep into your bathroom. It’s the critical link that ensures hygiene and functionality in your bathroom. Let’s dive into the specifics of its structure.
The Core Components: Anatomy of a Toilet Flange

At its heart, a toilet flange is a relatively simple yet ingeniously designed piece of plumbing hardware. It performs a critical job: supporting the toilet and connecting it to the waste pipe. While they can vary slightly in material and specific design, most flanges share a common structure. Understanding these parts will help you identify, inspect, and potentially replace a flange when needed.
Here are the key structural elements:
1. The Ring (or Spigot)
This is the outermost part of the flange. It’s the solid rim that sits on top of the finished floor or is recessed into it. The purpose of the ring is twofold: it provides a stable surface for the toilet to rest on and, crucially, it’s where the bolts that secure the toilet to the flange will be inserted. These bolts pull the toilet down, compressing the wax ring between the toilet and the flange, creating a watertight seal.
The ring itself often has two small arms or posts that extend inward. These are where the closet bolts (also known as toilet bolts or wax ring bolts) are placed. These bolts are essential for anchoring the toilet securely to the flange and the floor.
2. The Hub (or Socket)
This is the part of the flange that inserts into the drainpipe. It’s essentially a fitting that creates a snug connection with the pipe. The hub’s diameter must match the outer diameter of the specific drainpipe it’s connecting to, which is typically 3 inches or 4 inches in a residential setting. A tight fit here is crucial to prevent leakage from below the toilet.
Some flanges have a larger hub that fits over the outside of the pipe, while others have a smaller hub that fits inside the pipe. The type used often depends on the plumbing configuration and personal preference, but both aim for a secure, sealed connection.
3. The Screw Holes
Around the perimeter of the ring, you’ll find two to four screw holes. These are pre-drilled and strategically placed. This is where you will drive screws (usually corrosion-resistant screws like brass or stainless steel) to fasten the flange securely to the subfloor. Properly anchoring the flange is vital, as it supports the weight of the toilet and prevents it from shifting or tipping.
The placement of these holes ensures the flange is firmly attached, making the toilet stable and preventing it from wobbling. Over time, if the flange isn’t secured well, the movement can damage the wax seal and lead to leaks.
4. The Interior Lip (or Seal Surface)
Inside the hub, near the top where it meets the ring, there’s usually a slightly raised inner lip or a flat surface. This is the critical sealing surface. When the toilet is set, the wax ring is positioned on this surface. The weight of the toilet then presses down, deforming the wax and creating a seal that prevents water from escaping and gases from entering.
The flatness and integrity of this surface are important. If it’s damaged, corroded (in the case of metal flanges), or uneven, it can prevent a good seal, even with a new wax ring.
Materials Matter: Common Toilet Flange Types
The material a toilet flange is made from can affect its durability, ease of installation, and cost. Each type has its pros and cons:
1. PVC (Polyvinyl Chloride) Flanges
Most common in modern installations. PVC flanges are lightweight, inexpensive, and relatively easy to work with. They are resistant to corrosion and rust. They typically come in white or gray.
- Pros: Affordable, easy to cut and glue, corrosion-resistant, widely available.
- Cons: Can become brittle over time or with extreme temperature changes, may not be as robust as metal in high-traffic areas.
2. ABS (Acrylonitrile Butadiene Styrene) Flanges
Similar to PVC but often darker in color (black or dark gray). ABS is known for its strength and impact resistance. It’s glued using a specific ABS solvent cement.
- Pros: Strong and durable, good impact resistance.
- Cons: Requires a specific ABS cement, can be more expensive than PVC in some regions.
3. Cast Iron Flanges
These are heavy-duty and were standard in older homes. Cast iron flanges are extremely durable and resistant to damage. However, they can corrode or rust over time, especially if exposed to moisture.
- Pros: Very durable and sturdy, long lifespan if maintained.
- Cons: Heavy and difficult to install, prone to rust and corrosion, can be more expensive to replace.
4. Brass Flanges
Often used as a fitting on cast iron pipes or as an insert for PVC/ABS flanges to provide a more robust connection point for the closet bolts. Brass is corrosion-resistant and strong.
- Pros: Excellent corrosion resistance, strong and durable.
- Cons: Expensive, typically used as an insert rather than a full flange body.
Flange Types Based on Installation Method
Beyond material, flanges are also categorized by how they’re intended to be installed relative to the drainpipe and subfloor:
1. Standard Flange (with Hub)
This is the most common type. The hub of the flange fits directly into the end of a PVC, ABS, or cast iron drainpipe. It’s then secured to the subfloor via screws. You’ll need to ensure the hub size perfectly matches your drainpipe size (e.g., 3-inch or 4-inch). This type is installed before the finished flooring is laid or right as the subfloor is being prepped.
2. Offset Flange
These flanges are designed to shift the position of the toilet slightly. They have a hub that is off-center relative to the bolt holes and the outer ring. This is incredibly useful when the drainpipe isn’t perfectly aligned with where you want the toilet to sit. An offset flange can move the toilet a few inches in one direction, saving you from having to break open the floor to move the pipe.
3. Surface Mount Flange
Instead of inserting into the pipe, the hub of a surface mount flange is usually flush or nearly flush with the floor. The flange then sits on top of the finished floor, and the hub connects to an exposed pipe stub. These are less common for new installations but can be useful for repairs or certain remodel situations.
4. Inside Fit Flange
This type of flange has a narrow, spigot-like hub that fits inside a drainpipe. This is useful when you can’t get a standard flange fitting over the outside of a pipe, perhaps due to space constraints or existing plumbing. They often have rubber gaskets or a sealing mechanism for a watertight connection.
5. Offset Surface Mount Flange
A combination of surface mount and offset features, these flanges allow you to adjust the toilet’s position and mount directly onto the finished floor. They are often used in situations where the drainpipe is slightly misplaced and you prefer not to cut into the floor further.
Installation and Mounting: Securing the Flange
Proper installation is paramount for a functional toilet flange. While the exact steps can vary based on the flange type and your subfloor, here’s a general overview of what’s involved:
Important Note: Always follow the manufacturer’s instructions for the specific flange and pipe system you are using. For tasks involving significant plumbing modifications, consider consulting or hiring a licensed plumber.
Here’s a simplified breakdown:
- Prepare the Pipe: If you’re installing a new flange or replacing an old one, ensure the drainpipe is clean and free of debris. For PVC/ABS, you’ll need to prime and cement the hub to the pipe according to product directions. For older cast iron, you might need a rubber gasket and a metal band clamp.
- Position the Flange: Place the flange so its hub is correctly seated in the drainpipe. The ring should lie flat on the subfloor. For flanges designed to sit above the finished floor, ensure it’s at the correct height.
- Align Bolt Slots: Position the flange so the two closet bolt slots are aligned parallel to the back of the toilet. This is crucial for correctly positioning the toilet bowl later.
- Secure to the Subfloor: Use appropriate screws (usually 2-inch or 2.5-inch corrosion-resistant screws) to attach the flange to the subfloor. Drive the screws through the pre-drilled holes in the flange ring. Ensure the flange is firmly seated and doesn’t wobble. Do not overtighten, as this can crack plastic flanges.
- Check for Levelness: The flange should be level with the finished floor. If it sits too high, you might need to recess it or use a flange spacer. If it’s too low, you might need a thicker wax ring or a flange extender.
The International Code Council (ICC) provides building codes that govern plumbing installations, including toilet flange requirements, to ensure safety and sanitation standards are met. Always aim to comply with your local building codes.
Common Flange Problems and How to Spot Them
Even with careful installation, toilet flanges can develop issues over their lifespan. Recognizing these problems early can save you from significant water damage and repair headaches.
1. Leaks Around the Base of the Toilet
This is the most common sign of a flange problem. If you notice water pooling around the base of your toilet after flushing, it could be due to:
- A damaged wax ring (which relies on the flange for a seal).
- A cracked or corroded flange.
- A flange that isn’t properly secured to the subfloor, allowing movement and breaking the seal.
- A flange that is set too low, requiring a thicker wax ring or extender.
2. Wobbly Toilet
If your toilet rocks or feels loose when you sit on it, the flange may not be securely fastened to the subfloor, or the closet bolts might be loose. This movement can compromise the seal with the wax ring.
3. Foul Odors (Sewer Gas)
If you detect a persistent sewer smell in your bathroom, it usually indicates that the seal between the toilet and the drainpipe is broken. This is often caused by a damaged wax ring due to a faulty or improperly installed flange.
4. Visible Damage to the Flange
If you’ve removed the toilet for any reason, take the opportunity to inspect the flange directly. Look for:
- Cracks: Especially common in plastic flanges, cracks compromise the structural integrity and seal.
- Corrosion/Rust: Metal flanges (cast iron) can rust. Rust holes or significant pitting can prevent a proper seal.
- Warping or Bending: Any deformation of the flange’s sealing surface can lead to leaks.
- Missing or Damaged Bolt Gaskets/Seals: If your flange uses rubber gaskets for sealing to the pipe, check their condition.
DIY vs. Professional: When to Tackle Flange Issues
As a DIY enthusiast, you might be wondering if fixing a toilet flange is within your capabilities. The answer is often yes, especially for simpler tasks. However, it’s crucial to assess the situation realistically.
When DIY is Likely Feasible:
- Replacing a Wax Ring: If you suspect the wax ring is the issue and the flange itself looks intact and firmly attached, replacing the wax ring is a manageable DIY task.
- Tightening Closet Bolts: If the toilet is slightly wobbly and the closet bolts are accessible and only need tightening, a simple adjustment might do the trick.
- Replacing a Minorly Damaged Plastic Flange: For plastic flanges that are cracked but the hub is still firmly in the pipe, replacing the entire flange (after removing the toilet) can be done with basic tools and new PVC cement.
When to Call a Professional Plumber:
- Damaged or Rotten Subfloor: If the screws holding the flange to the floor are loose because the subfloor is damaged, this requires more extensive repair work.
- Broken or Corroded Cast Iron Flange: Working with cast iron plumbing can be challenging, especially if it’s old and brittle.
- Misaligned Drainpipe: If the drainpipe is significantly out of place and won’t directly accept a standard flange, you might need to cut into the floor or adjust the piping.
- Persistent Leaks or Odors: If you’ve tried basic fixes and the problem persists, there might be a more complex issue down the line.
- Lack of Confidence or Proper Tools: If you’re not comfortable with plumbing tasks or don’t have the right tools (like pipe cutters, specific cements, etc.), it’s safer and often more cost-effective to hire a pro than to risk further damage.
Essential Tools for Working with Toilet Flanges
When you decide to tackle a toilet flange project, having the right tools is key to a smooth and successful repair. Here’s a list of common tools you might need:
| Tool | Purpose |
|---|---|
| Adjustable Wrench or Pliers (Channel Locks) | Loosening and tightening closet bolts, or any other nuts and bolts. |
| Screwdriver Set (Phillips and Flathead) | Removing and installing screws, including the closet bolts. |
| Toilet Wax Ring | Essential for creating a watertight seal between the toilet and the flange. Consider wax-free seals as an alternative. |
| Toilet Flange Bolts (Closet Bolts) | Special bolts that anchor the toilet to the flange. Always use new ones for a secure fit. |
