
Unclog grout easy with simple, proven methods for a sparkling clean finish. Restore your tile’s beauty without harsh scrubbing or complex tools.
Dirty grout can make even the most beautiful tile look dull and uninviting. It’s a common problem many homeowners face, and it can be frustrating to see those once-pristine lines become dingy and stained. But don’t worry! Tackling clogged grout doesn’t have to be an overwhelming chore. With the right approach and a little know-how, you can easily restore your grout’s original brightness, making your entire tile area look refreshed and new. We’ll guide you through simple, effective techniques that require minimal effort for maximum impact.
Why Does Grout Get Clogged Anyway?

Grout is like a sponge for your home. It’s a porous material, meaning it has tiny little holes that can absorb dirt, grime, soap scum, mold, and mildew over time. In kitchens, this can be grease and food splatters. In bathrooms, it’s usually soap and mineral deposits from shower water. Foot traffic in entryways can also track in dirt. These substances get trapped within the grout lines, making them look dark, discolored, and “clogged.” Regular cleaning helps, but sometimes a more targeted approach is needed to truly revive it.
What You’ll Need: Your Grout Cleaning Toolkit

Before we dive into the cleaning process, let’s gather everything you’ll need. Having your supplies ready makes the job much smoother and more efficient.
Essential Cleaning Agents
- Baking Soda: A mild abrasive that’s fantastic for scrubbing away grime without scratching surfaces.
- Vinegar (White Distilled): Its acidity helps break down soap scum, mineral deposits, and some mold. Always test in an inconspicuous area first, as some stone tiles can be damaged by acid. Avoid on unsealed grout or natural stone.
- Hydrogen Peroxide (3%): A natural bleach alternative that’s great for stains, mold, and mildew.
- Liquid Dish Soap: Helps to cut through grease and lift dirt.
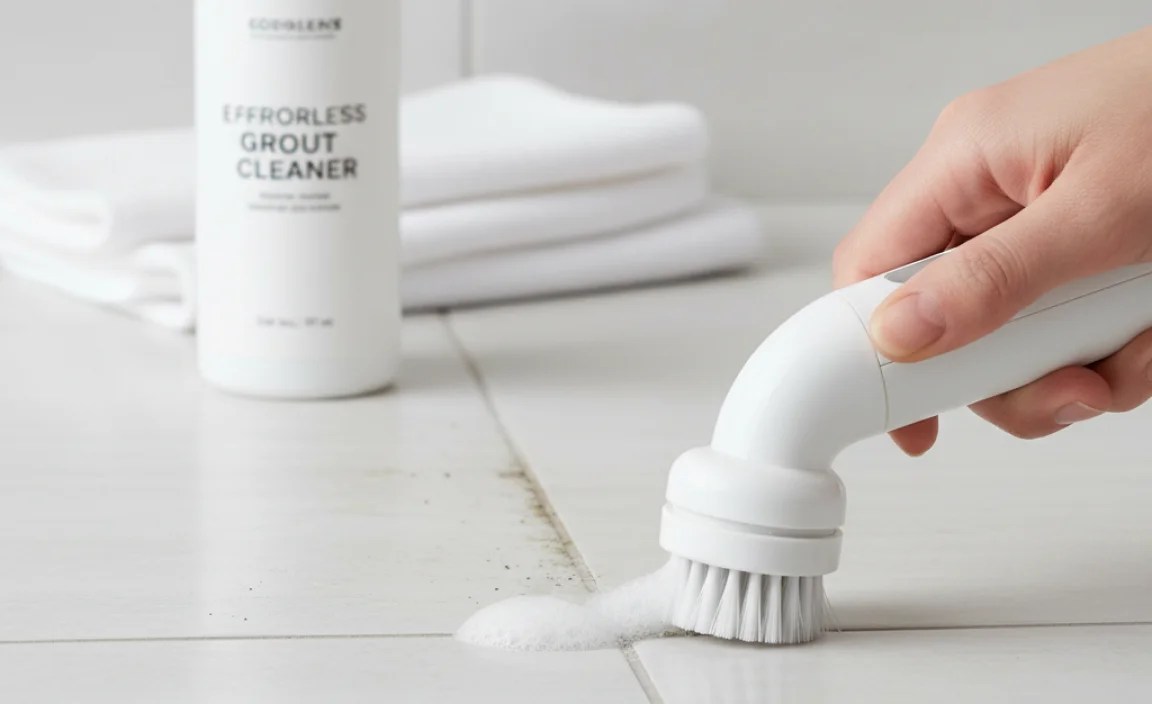
- Optional: Commercial Grout Cleaner: If you prefer a dedicated product, choose one that’s suitable for your tile type and grout.
Tools for the Job
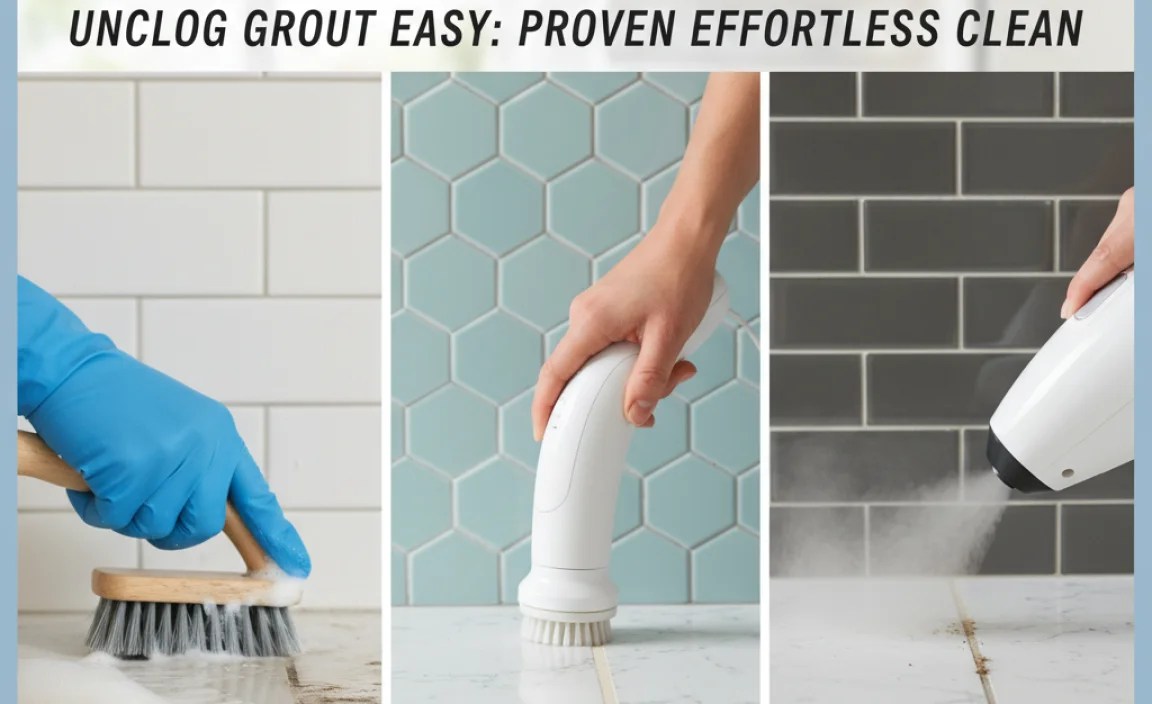
- Stiff-bristled Brush: An old toothbrush or a dedicated grout brush works perfectly. A scrub brush with a handle is also useful for larger areas.
- Spray Bottle: For applying cleaning solutions evenly.
- Bucket: For mixing cleaning solutions and rinsing tools.
- Clean Cloths or Sponges: For wiping and rinsing. Microfiber cloths are excellent for absorbing moisture.
- Gloves: To protect your hands from cleaning solutions.
- Mask (Optional but Recommended): Especially if using stronger cleaners or for ventilation.
- Squeegee (Optional): For drying large tiled areas quickly.
- Grout Sealer (After Cleaning): Essential for protecting your newly cleaned grout and making future cleaning easier. You can find reliable information on grout sealing from reputable sources like the National Park Service, which often deals with historic building materials including grout.
How to Unclog Grout Easily: A Step-by-Step Guide

Let’s get started! This guide focuses on simple, effective methods that are safe for most common tile types.
Step 1: Prepare the Area
First, clear the area you’ll be cleaning. Remove any objects from countertops, floors, or walls. Sweep or vacuum the tiles to remove loose debris. This prevents you from pushing dirt further into the grout lines.
Step 2: Choose Your Cleaning Solution
For beginners, a simple paste of baking soda and water is an excellent starting point. For tougher grime, you can move on to vinegar or hydrogen peroxide mixtures. Always ensure good ventilation when cleaning.
Option A: Baking Soda Paste (Mild Grime & General Cleaning)
This is your go-to for everyday dirt and light discoloration. It’s safe for almost all tile types and is very easy to make.
- In a small bowl, mix baking soda with a little water to form a thick paste. It should be spreadable but not runny.
Option B: Vinegar and Water Spray (Soap Scum & Mildew)
White distilled vinegar is excellent at breaking down mineral deposits and soap scum. Be cautious with natural stone tiles like marble or travertine, as repeated exposure to acid can etch them. Always test first.
- Mix equal parts white distilled vinegar and water in a spray bottle.
- Shake gently to combine.
Option C: Hydrogen Peroxide and Baking Soda (Tough Stains & Discoloration)
This combination can tackle more stubborn stains and mildew. The baking soda acts as a mild abrasive, and the peroxide helps to lift and lighten stains. It’s a gentler alternative to bleach.
- First, apply the baking soda paste (from Option A) directly onto the grout lines.
- Then, spray the hydrogen peroxide (straight from the bottle or slightly diluted with water for a less potent solution) over the baking soda paste. You’ll see a slight fizzing reaction, which is normal and indicates it’s working!
Step 3: Apply the Cleaner
Using your brush or a gloved finger, apply your chosen cleaning solution directly onto the grout lines. For the baking soda paste or the hydrogen peroxide/baking soda mix, you can apply it directly. For the vinegar spray, liberally spray the solution onto the grout.
Step 4: Let It Sit
This is where the magic happens! Allow the cleaner to work its way into the grout. For baking soda paste, let it sit for 10-15 minutes. For vinegar or hydrogen peroxide solutions, allow them to sit for about 15-20 minutes. For really stubborn areas, you might let them sit a bit longer, but don’t let them dry out completely.
Step 5: Scrub the Grout
Now it’s time to do some gentle scrubbing. Use your stiff-bristled brush to work the cleaning solution into the grout lines. Apply enough pressure to lift the grime but not so much that you damage the grout or tile. Work in small sections. For tight corners or intricate tile patterns, an old toothbrush is perfect.
Pro Tip: If you have a lot of grout to clean, consider using a steam cleaner. Steam can penetrate deep into the porous grout and loosen dirt effectively with just water, making scrubbing almost effortless. Many consumer-grade steam cleaners come with specialized grout attachments.
Step 6: Rinse Thoroughly
This is a crucial step to ensure you remove all the loosened dirt and cleaning residue. Using a clean, damp cloth or sponge, wipe down the grout lines to rinse them. You may need to rinse your cloth or sponge multiple times. For larger floor areas, a mop and clean water will work, or even a squeegee to push excess water into your bucket. Make sure no cleaning solution remains, as this can attract dirt later.
Step 7: Dry the Area
Use a clean, dry cloth to pat the grout and tile dry. Adequate drying helps prevent water spots and mildew growth. Letting the area air dry completely is also effective. If you’re cleaning a bathroom, ensure good ventilation by turning on the fan or opening a window.
Step 8: Inspect and Repeat (If Necessary)
Once the grout is dry, inspect the results. If some areas are still discolored or stained, you can repeat the process, perhaps using a slightly stronger solution or allowing it to sit for a bit longer. For extremely tough stains, a specialized grout stain remover might be necessary, but always follow product instructions carefully and test first.
Step 9: Seal Your Grout (Highly Recommended!)
After your grout is clean and completely dry, it’s the perfect time to seal it. Sealing protects the porous grout from absorbing stains and moisture in the future, making cleaning much easier for months to come. Grout sealers are available at most hardware and home improvement stores. Application is usually straightforward—often a brush-on or spray-on product—and it significantly extends the life and appearance of your grout. For guidance on specific sealing products and their application, consult the BuildingGreen resource for material information.
Comparing Popular Grout Cleaning Methods
Here’s a quick look at some common DIY methods, comparing their effectiveness and ease of use for beginners. This table should help you choose the best approach for your specific situation.
| Method | Best For | Ease of Use | Effectiveness | Potential Downsides |
|---|---|---|---|---|
| Baking Soda Paste | Mild grime, general cleaning, light stains | Very Easy | Good | May require extra scrubbing for tough stains. |
| Vinegar & Water Spray | Soap scum, mineral deposits, mild mildew | Easy | Good | Can damage natural stone tiles (test first!). Not ideal for heavy grease. |
| Hydrogen Peroxide & Baking Soda | Stubborn stains, discoloration, mildew | Easy to Moderate | Very Good | Requires a bit more prep. Peroxide can lighten colored grout over time (test first). |
| Commercial Grout Cleaner | Various stains, depending on product | Moderate | Excellent (if used correctly) | Can be harsh chemicals, require good ventilation, and need careful product selection for tile type. Always wear gloves and eye protection. |
| Steam Cleaning | Deep cleaning, general grime, loosening tough dirt | Moderate (requires equipment) | Excellent | Requires specialized equipment and can take longer for large areas. |
Troubleshooting Stubborn Grout
Even with the best efforts, some grout issues can be persistent. Here are a few tips for those tougher challenges.
- Really Old, Dark Stains: For grout that has absorbed deep stains over many years, you might need to repeat your chosen cleaning method several times. Patience is key! If a stain persists after a few attempts, consider a poultice – a paste made with an absorbent material (like diatomaceous earth or baking soda) and a strong stain remover (like oxygen bleach or a mild solvent) applied to the stain, covered, and left to draw out the discoloration. Always follow product instructions precisely and ventilate well.
- Mold and Mildew: For persistent mold or mildew, hydrogen peroxide is a good start. If that doesn’t fully remove it, diluted bleach can be used, but extreme caution is necessary. Mix one part bleach to ten parts water. Apply carefully to the grout only (not the tile if possible) with a small brush or applicator, let it sit for 10-15 minutes, and rinse thoroughly. NEVER mix bleach with vinegar or ammonia, as this creates dangerous toxic fumes. Ensure exceptional ventilation and wear protective gear. For severe mold issues, you may need to consult a professional mold remediation service.
- Colored Grout: Be extra careful with colored grouts. Harsh cleaners, especially strong acids or bleaches, can cause them to fade or change color. Always test any cleaning solution in an inconspicuous spot first.
- Dealing with Painted Grout or Grout in Poor Condition: If your grout has been painted or is crumbling, aggressive cleaning might cause more damage. For painted grout, special paint stripper might be needed, but this is a more advanced DIY task. If grout is crumbling, it may need professional repair or re-grouting.
Prevention is Key: Keeping Grout Clean Longer
Once you’ve got your grout looking shipshape, you’ll want to keep it that way! Regular maintenance is the best way to prevent deep clogs and stubborn stains.
- Regular Wiping Down: After showering, quickly wipe down shower walls and floors. This removes excess water and soap residue, preventing it from settling into the grout. A squeegee is great for this.
- Prompt Spill Cleanup: In kitchens and dining areas, wipe up spills as soon as they happen.
- Routine Cleaning: Aim for a light grout cleaning once a month using a mild soap and water solution or your preferred gentle cleaner.
- Grout Sealing Maintenance: Reapply grout sealer as recommended by the product manufacturer, typically every 6-12 months for high-traffic areas or in damp environments like bathrooms. A well-sealed grout will repel most common household messes.
- Address Water Issues: Leaks or persistent dampness can encourage mold and mildew growth. Fix any plumbing issues or poor ventilation promptly.
Frequently Asked Questions About Unclogging Grout
Will baking soda and vinegar damage my grout?
Baking soda is a mild abrasive and is generally safe. Diluted white vinegar (50/50 with water) is also usually safe for cementitious grout when used periodically. However, prolonged exposure or undiluted vinegar can etch unsealed cementitious grout and is not recommended for natural stone tiles (like marble, travertine, or granite) as the acid can damage their surface. Always test in an inconspicuous area first.
How often should I clean my grout?
For best results, aim for a light cleaning of your grout every 1-2 months. A deeper clean using the methods described above can be done 2-4 times a year, or as needed when you notice significant staining or discoloration. Regular sealing will also reduce how often deep grout cleaning is necessary.
What’s the difference between grout haze and a clogged grout line?
Grout haze is typically a whitish, cloudy film left behind on the surface of tiles after grout has been installed or after some cleaning methods if not rinsed properly. It sits on top of the tile. A clogged grout line means dirt, soap scum, mold, or other substances have penetrated into the porous grout material itself, making the grout lines appear dark, discolored, or dingy below the surface of the tile.
Can I use bleach to clean grout?
Diluted bleach can be effective for whitening grout and killing mold and mildew. However, it’s a strong chemical. Always dilute it (e.g., 1 part bleach to 10 parts water), use in a very well-ventilated area, wear gloves and eye protection, and never mix it with other cleaners, especially ammonia or vinegar, as this creates dangerous fumes. Bleach can also damage colored grout over time. Test in a hidden spot first.
My grout is moldy. How do I get rid of it?
For mold, start with a baking soda and hydrogen peroxide paste or a vinegar solution. If these aren’t enough, a diluted bleach solution (see Q4) can be effective, applied carefully to the grout. Ensure thorough rinsing and good ventilation. Sometimes, mold can penetrate deep into the substrate beneath the grout; if it’s a recurring or severe problem, you may need to consult a professional.
Is it better to use a brush or a sponge for cleaning grout?
A stiff-bristled brush (like a grout brush or an old toothbrush) is generally more effective for scrubbing and lifting grime out of the grout lines. Sponges are best for applying solutions and for rinsing and wiping away loosened dirt and cleaning residue after scrubbing.
Bringing Back the Shine: Effortless Grout Cleaning is Achievable
You’ve now seen that unclogging your grout doesn’t require Herculean effort or specialized, expensive equipment. By understanding why grout gets dirty and employing simple, proven cleaning agents like baking soda, vinegar, and hydrogen peroxide, you can transform your tired, dingy grout lines into bright, clean features that enhance your home’s appearance. Remember that preparation, allowing the cleaner time to work, gentle scrubbing, thorough rinsing, and diligent drying are the keys to maximizing your efforts. Even more importantly, a fresh coat of grout sealer will protect your hard work and make future maintenance a breeze.
Don’t let stained grout diminish the beauty of your tiles any longer. With these easy-to-follow steps, you can confidently tackle this common household issue and achieve a sparkling clean finish. Grab your supplies, put on some music, and get ready to be amazed by the difference a clean grout line can make. Happy cleaning!
