
Understanding the basic structure of a bidet—the water source, nozzle, control, and bowl—is straightforward for beginners. This guide breaks down each component, making bidet installation and usage simple, safe, and effective for any homeowner.
Bidets are becoming increasingly popular, and for good reason. They offer a more hygienic and refreshing way to clean up after using the toilet. If you’re new to the world of bidets, the thought of their internal workings might seem a bit daunting. But don’t worry! Understanding the basic structure of a bidet is key to appreciating its function and ensuring smooth operation. We’ll walk you through each essential part in simple terms, so you can feel confident about what’s happening behind the scenes. Get ready to demystify the bidet, one component at a time!
What is a Bidet Anyway?

At its core, a bidet is a plumbing fixture or attachment designed to wash your rear and genital areas with water after you use the toilet. Think of it as an alternative or supplement to toilet paper, offering a more thorough and refreshing clean. They come in various forms, from standalone fixtures to clever attachments that fit onto your existing toilet. Regardless of the type, they all share a common goal: to improve personal hygiene with the power of water.
The Essential Components of a Bidet

While bidets may look different on the outside, their internal structure follows a few core principles. Knowing these parts will help you understand how they work, how to maintain them, and how to choose the right one for your needs. We’ll explore the main players:
1. The Water Supply
This is where the magic begins! Every bidet needs a source of water to perform its cleaning function. This is typically connected to your home’s existing plumbing system.
- Cold Water Connection: Most basic bidets will tap into the cold water line that supplies your toilet tank. This is usually a small valve or hose connected to a shut-off valve. It’s a simple, direct connection that’s easy to understand.
- Hot Water Connection: For a more comfortable experience, especially in colder climates, many bidets offer a hot water option. This requires an additional connection to your home’s hot water supply. This could be from a nearby sink’s hot water line or a dedicated hot water plumbing line. Some advanced models even feature their own instantaneous water heaters for perfectly warmed water.
- Water Pressure: The water pressure from your home’s supply significantly impacts the bidet’s spray strength. If you have low water pressure, you might consider a bidet model designed to work effectively with it, or perhaps look into a bidet with a small internal pump. The U.S. Environmental Protection Agency (EPA) has guidelines on water efficiency and pressure that can be helpful when considering plumbing upgrades.
2. The Nozzle or Wand
This is the part that actually delivers the water. It’s designed to be positioned correctly to cleanse the intended areas effectively and hygienically.
- Positioning: The nozzle is typically located under the toilet seat (in bidet seats and attachments) or extends from a rim or column (in bidet toilets and standalone units). Its placement is crucial for accurate aiming.
- Material: Nozzles are usually made from durable, easy-to-clean materials like plastic (often ABS) or stainless steel. Stainless steel is generally considered more hygienic due to its non-porous surface.
- Retraction: For many modern bidets, the nozzle retracts when not in use, protecting it from contamination and keeping the toilet bowl looking tidy.
- Self-Cleaning: A fantastic feature on many bidets is a self-cleaning function, where the nozzle rinses itself with water before and after each use. This is vital for maintaining hygiene.
- Adjustability: Some bidets allow you to adjust the position, spray pressure, and even the spray pattern of the nozzle. This customization ensures a comfortable and effective clean for different users.
3. The Controls
This is how you operate your bidet, adjusting water temperature, pressure, and spray. The type of controls varies greatly depending on the bidet model.
- Manual Levers/Knobs: Found on simpler bidet attachments and some older standalone models, these controls require you to manually adjust the water flow by turning a knob or pushing a lever. They are straightforward but offer less precise control.
- Remote Controls: Most electronic bidet seats and some advanced bidet attachments come with a remote control. This allows for a wide range of adjustments, including water temperature, pressure, nozzle position, and even oscillating or pulsating spray patterns from a comfortable distance.
- Side Control Panel: Some bidet seats have a control panel integrated into the side of the seat itself. This is convenient for immediate access and adjustments without needing a separate remote.
- User Presets: Higher-end models often allow you to save your preferred settings for different users, making each bidet session personalized and effortless.
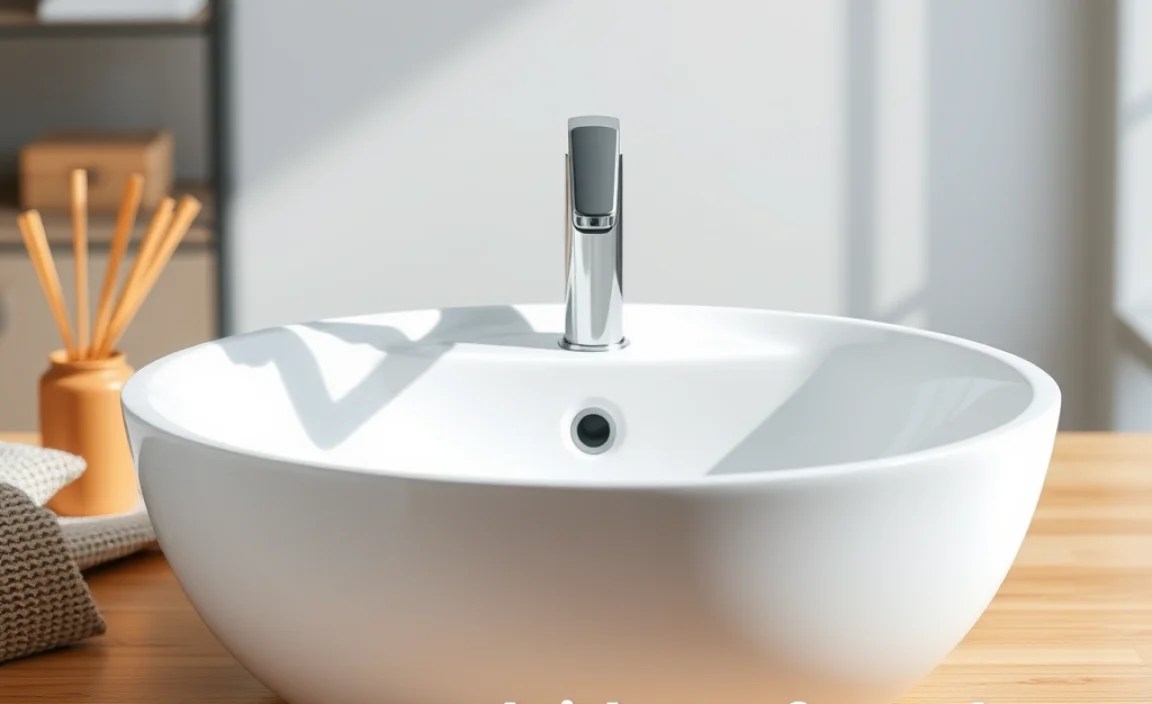
4. The Bowl or Seat
This is the part you interact with directly. It can be a complete fixture or an addition to your existing toilet.
- Standalone Bidet Fixture: This is a separate basin, similar to a toilet but lower and without a tank, installed next to your toilet. You would typically use the toilet first, then move to the bidet.
- Bidet Toilet Seat: This replaces your existing toilet seat. It’s a very popular and easy-to-install option that integrates bidet functionality directly into your current toilet. They often house the water heater, pump, and nozzle mechanism discretely.
- Bidet Attachment: This is a slim, usually plastic, device that fits underneath your existing toilet seat. It’s mounted between your toilet bowl and seat and provides basic washing functions. These are typically the most affordable and easiest to install.
- Integrated Bidet Toilet (Smart Toilet): These are high-end, all-in-one units where the bidet functionality is built directly into the toilet itself. They often feature advanced features like heated seats, air dryers, and automatic lids.
Types of Bidets and Their Structural Differences
The fundamental components remain the same, but their integration and complexity vary significantly between bidet types. Understanding these differences helps in choosing the right model for your home and budget.
Non-Electric Bidet Attachments and Shatafas
These are the simplest and most budget-friendly options. They offer basic washing functions without the need for electricity.
- Structure: A bidet attachment is typically a slim panel that fits under your existing toilet seat. It has a nozzle (or two for posterior and feminine wash) that extends downwards. The water supply is directly connected to the toilet’s cold water line. Some models have a separate warm water inlet, requiring a connection to a nearby hot water source (like a sink). Operates using water pressure from your home’s supply.
- Controls: Usually a simple knob or lever on the side of the attachment or seat to control water flow and sometimes nozzle position.
- Pros: Very affordable, easy to install, no electricity required, uses existing toilet seat.
- Cons: No heated water (unless hot water is connected, which is less common for basic models), no heated seat, no air dryer, spray intensity is solely dependent on house water pressure, minimal adjustability.
Electric Bidet Seats
These are a very popular upgrade, offering a more comfortable and feature-rich experience. They replace your existing toilet seat.
- Structure: The seat itself contains the heating element for water and the seat, the bidet nozzle system, and often an air dryer. It requires an electrical outlet nearby (usually a GFCI outlet, which is a safety standard for wet areas). The water connection is similar to non-electric models, typically tapping into the toilet’s cold water supply, though some advanced models might have internal heaters that also accept hot water feeds.
- Controls: Typically come with a wireless remote control or a side-mounted control panel. These allow for precise control over water temperature, pressure, nozzle position (forward/backward), spray patterns (oscillating, pulsating), and air drying.
- Pros: Heated water, heated seat, adjustable water pressure and temperature, air dryer, easy installation (just plug it in!), many advanced features.
- Cons: Requires electricity, generally more expensive than non-electric options, may require a specific toilet shape (round vs. elongated).
Bidet Compartments on Toilets or Smart Toilets
These are the most integrated and luxurious options, where the bidet is part of the toilet unit itself.
- Structure: The bidet functionality—nozzle, water heating, controls, and sometimes even deodorizers and air dryers—is built directly into the toilet bowl and tank assembly. They require both a water supply (often with hot and cold options) and an electrical outlet. The design is sleek and seamless, aiming for a modern, minimalist aesthetic.
- Controls: Usually sophisticated remote controls or sometimes integrated touch panels on the toilet itself for extensive customization. Advanced models may offer user recognition, automatic cleaning cycles, and even remote diagnostics.
- Pros: Ultimate integration, high-end features, often sleek and modern design, comprehensive hygienic solutions.
- Cons: Most expensive option, requires significant plumbing and electrical work for installation, replacing the entire toilet unit.
Standalone Bidet Fixtures
A more traditional option, common in Europe and other parts of the world, this is a separate fixture installed next to the toilet. It resembles a low sink with a faucet.
- Structure: A separate ceramic basin is installed on the floor, typically close to the toilet. It connects to both hot and cold water lines and has a drain. The faucet controls water flow and temperature, and the basin itself is designed ergonomically for cleansing.
- Controls: A faucet with handles for hot and cold water, and a spout that directs the water. Some might have a spray nozzle attachment.
- Pros: Can offer a very thorough wash, doesn’t interfere with the toilet’s function, traditional and elegant look.
- Cons: Requires significant extra plumbing and floor space, involves moving from the toilet to the bidet, can be less convenient for some users, requires a separate cleaning ritual.
How Bidets Connect to Your Plumbing: A Closer Look
Connecting a bidet doesn’t have to be a plumbing nightmare. Most beginner-friendly models are designed for straightforward DIY installation. Here’s what you typically need to know about the connections:
Water Intake
- Toilet Supply Line: This is the most common connection point. A T-adapter, often included with your bidet kit, is installed between your toilet’s water supply valve and the toilet tank’s fill valve. This adapter splits the water flow, allowing it to go to both the toilet tank and the bidet. You can find a guide on replacing toilet supply lines from sources like Home Depot’s DIY guides, which often cover similar connection principles.
- Shut-Off Valve: Always ensure you have a functioning shut-off valve for the toilet’s water supply. This is crucial for safety during installation and for maintenance.
- Hot Water (Optional): If your bidet has a hot water feature, you’ll need to connect it to a hot water supply. This typically involves running a separate hose from a nearby hot water source, like a sink, to the bidet. For many electric bidet seats, the hot water is mixed internally with cold water via a heating element rather than directly fed from your home’s hot water supply to achieve precise temperatures.
Drainage
For standalone bidet fixtures, there’s a standard drain connection like any other plumbing fixture, leading to your home’s sanitary sewer system.
- Bidet Seats and Attachments: These types of bidets do not have their own drainage system. The water is used for washing and then goes directly into the toilet bowl to be flushed away with the toilet’s regular flush.
Safety and Maintenance Considerations
Keeping your bidet functioning well and safely is simple once you understand a few key points.
Electrical Safety for Electric Bidets
- GFCI Outlet: Electric bidets must be plugged into a Ground Fault Circuit Interrupter (GFCI) outlet. These outlets are designed to cut off power quickly if they detect a ground fault, preventing electric shock, which is essential in a bathroom environment. If you don’t have one, an electrician can easily install one. The National Electrical Code (NEC) mandates GFCI protection in bathrooms, as referenced by electrical safety organizations.
- Water and Electricity: Never mix water and electricity carelessly. Ensure all connections are secure and that the bidet unit is not submerged in water.
- Power Cord: Keep the power cord away from direct water spray or puddles.
Water Pressure and Temperature
- Adjust to Your Comfort: Start with the lowest water pressure and gradually increase it to find your preferred setting. Too high pressure can be uncomfortable or even harmful.
- Temperature Settings: If you have a heated bidet, always test the water temperature before full use. Start with cooler settings and increase gradually to prevent scalding.
- Water Softeners: If you have very hard water, it might affect the performance and longevity of your bidet, especially its heating elements and nozzles. A water softener can help.
Cleaning and Hygiene
- Regular Cleaning: Clean the bidet seat, controls, and especially the nozzle regularly with mild, non-abrasive cleaners. Many nozzles have self-cleaning functions, but manual wiping is still recommended.
- Nozzle Care: For models with retractable nozzles, check that they extend and retract smoothly. Keep the nozzle area clean.
- Water Shut-Off: It’s good practice to turn off the water supply valve to the bidet when going on extended vacations to prevent any potential leaks.
Installation Tips from an Expert
As Bryan Lee, your home and DIY expert, I always say: preparation and clear steps are key. Here’s how to approach bidet installation with confidence:
Step 1: Gather Your Tools and Materials
Before you start, make sure you have everything you need. This saves time and frustration.
- Your new bidet (seat, attachment, or standalone unit)
- The included installation manual and hardware
- Adjustable wrench
- Screwdriver (Phillips head, usually)
- Teflon tape (plumber’s tape)—essential for sealing threads
- Bucket and towel (for catching any residual water)
- Optional: New toilet supply line (recommended for a fresh connection)
- Optional: GFCI outlet (if installing an electric bidet and don’t have one)
Step 2: Turn Off the Water Supply
This is the most crucial safety step. Locate the toilet’s shut-off valve (usually on the wall behind the toilet). Turn the handle clockwise until it stops. Flush the toilet to empty the tank and release any remaining water pressure.
Step 3: Disconnect the Old Supply Line
Place a bucket and towel under the connection point. Use your wrench to loosen the nut connecting the toilet supply line to the fill valve on the toilet tank. Water will drain out. Then, disconnect the other end from the shut-off valve.
Step 4: Install the T-Adapter
Wrap Teflon tape clockwise around the threads of the shut-off valve. Screw the T-adapter onto the shut-off valve. Hand-tighten it, then use your wrench for a quarter to half turn. Now, reconnect the toilet supply line to the bottom of the T-adapter.
Step 5: Connect the Bidet Hose
Wrap Teflon tape around the threads on the T-adapter where the bidet hose will connect. Attach the bidet’s water supply hose to the T-adapter. Hand-tighten, then use your wrench.
