
Have you ever looked at grimy caulking and wondered how to make it sparkle again? Cleaning caulking can seem tricky, but it’s really not that hard. Imagine looking at your bathroom and feeling proud because everything shines.
Many people don’t realize that caulking traps dirt and grime. Over time, it can make your home look less inviting. But fear not! With a few simple steps, you can clean it up.
What if I told you that you can do this in less than an hour? Isn’t that exciting? Whether it’s in your kitchen or bathroom, clean caulking can make a big difference.
In this article, we will guide you step by step on how to clean caulking. It will be fun and easy! So grab your tools, and let’s get started on this mini adventure of home care!
Clean Caulking Step By Step: A Comprehensive Guide
Clean Caulking Step by Step
Cleaning caulking properly can make your space look fresh. Start by gathering your supplies, such as a scraper and cleaner. Did you know that old caulking can harbor mold? This is why removing it is crucial. Next, apply a cleaner to soften the caulk. After that, scrape it away carefully. Rinse the area and let it dry. Finally, new caulking can seal gaps and prevent leaks. You’ll be amazed at the difference clean caulking can make!
Importance of Clean Caulking

Benefits of maintaining clean caulking. Impact on aesthetics and functionality.
Clean caulking does more than keep water out; it can make your home look better. Here’s why clean caulking matters:
- It helps keep mold away, which is good for your health.
- Clean caulking looks neat and tidy, improving your home’s appearance.
- Well-kept caulking works better. It seals gaps and keeps cold or hot air inside.
- Dirty caulking can lead to bigger problems, like leaks and higher energy bills.
Taking care of caulking keeps your home safe and pretty!
Why should I keep my caulking clean?
Keeping caulking clean is important because it stops mold and improves your home’s look. Clean caulking also works better, saving energy and avoiding leaks.
Tools and Materials Needed
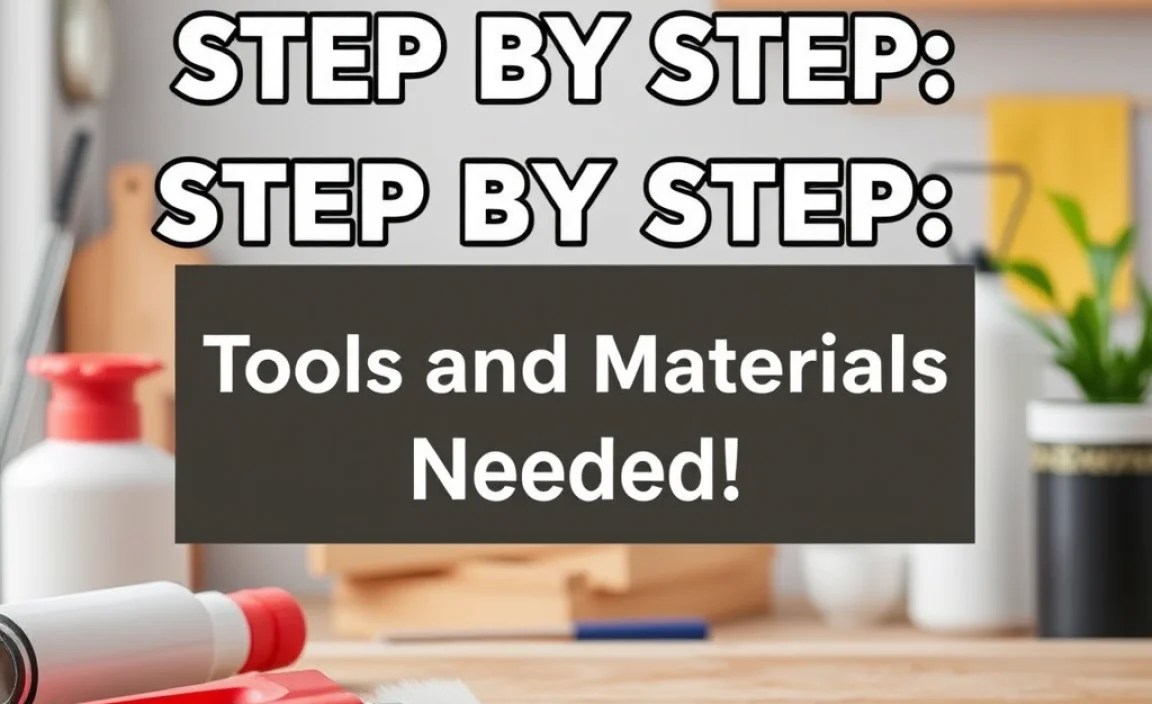
List of essential tools for cleaning caulk. Recommended cleaning solutions and their effectiveness.
To clean caulk effectively, you’ll need some handy tools. Grab a caulk scraper or a putty knife; they work like magic. A stiff brush helps chase away stubborn bits, while a soft cloth gives that final shine. Now, let’s talk about cleaning solutions. Vinegar is a superstar for mold, and baking soda adds some fizz for extra power. Here’s a quick rundown:
| Tool/Solution | Effectiveness |
|---|---|
| Caulk Scraper | Great for removing old caulk |
| Stiff Brush | Good for scrubbing away dirt |
| Vinegar | Excellent for killing mold |
| Baking Soda | Helps with tough stains |
With these tools and solutions, you’ll be a caulk-cleaning champ in no time!
Preparing the Area for Cleaning
Steps for protecting surrounding surfaces. Importance of proper ventilation.
To start cleaning caulking, protect your surroundings. Cover surfaces with old newspapers or plastic sheets. This prevents messes that even a vacuum can’t handle! Don’t forget to wear gloves; nobody wants sticky fingers. Ensure good ventilation by opening windows or turning on fans. This keeps the air fresh and helps dry everything faster. Remember, a clean area means a clean job!
| Steps for Protection | Importance of Ventilation |
|---|---|
| Cover surfaces with plastic | Prevents chemical odors |
| Use old newspapers | Speeds up drying |
| Wear gloves | Ensures safety |
Step-by-Step Cleaning Process
Detailed instructions for removing old, dirty caulk. Techniques for applying new caulk effectively.
Start by removing the old caulk with a utility knife. It’s like a dance, just wiggle it gently and let it do its magic! Clean the surface with rubbing alcohol to get rid of dirt and grime. Remember, clean surfaces hold caulk better! Next, cut the tip of the new caulk tube at a 45-degree angle. This is where the fun begins! Finally, squeeze the tube and move the caulk smoothly along the surface. Your caulking project will be looking sharp!
| Step | Action | Tip |
|---|---|---|
| 1 | Remove old caulk | Wiggle, don’t yank! |
| 2 | Clean area | Use rubbing alcohol for best results. |
| 3 | Cut new caulk tube | Stay at a 45-degree angle! |
| 4 | Apply caulk | Squeeze and glide like a pro! |
Tips for Maintaining Clean Caulking
Best practices for preventing mold and mildew. Regular maintenance routines to ensure longevity. “`html
Keep your caulking looking fresh and mold-free with a few simple tips! First, always check bathroom and kitchen areas for dampness. Mold loves to party in the dark, wet corners. Use a caulk that is mold-resistant to make it less appealing to sneaky spores.
Regularly wipe down surfaces with a mix of vinegar and water, which helps kill any lurking bacteria. Remember to reseal every few years, especially in high-moisture spaces. A little effort goes a long way!
| Tip | Frequency |
|---|---|
| Check for leaks | Monthly |
| Clean surfaces | Weekly |
| Reapply caulk | Every 3-5 years |
“`
Common Mistakes to Avoid
Identifying frequent errors during the caulking process. Tips for troubleshooting issues with clean caulk.
Many people make mistakes while caulking. These issues can spoil your work. Here are some common errors to avoid:
- Not cleaning the surface well before applying caulk.
- Using too much or too little caulk.
- Not smoothing the caulk properly.
- Caulking in wet or humid conditions.
If you spot bubbles or cracks in the caulk, don’t panic. You can fix them. Remove the bad caulk and apply a fresh layer. Remember, practice makes perfect!
What are some easy solutions for caulking mistakes?
To fix common mistakes, clean the area well, and use the right amount of caulk. Smooth it out properly, and wait for the right weather conditions.
Conclusion
In conclusion, clean caulking is important for a tidy home. We learned the steps: remove old caulk, clean the area, and apply new caulk smoothly. Follow these simple actions to keep your spaces looking fresh. You can try this yourself or read more for tips. Let’s make our homes neat and inviting together!
FAQs
What Tools And Materials Are Needed To Effectively Clean Old Caulking From Surfaces?
To clean old caulking, you need a few tools. Use a utility knife to scrape it off. A putty knife can help too. You’ll also need some rubbing alcohol or a special cleaner. Finally, keep some paper towels handy to wipe up the mess!
How Can You Safely Remove Caulking Without Damaging The Underlying Surface?
To safely remove caulking, you should use a utility knife or a plastic scraper. Start by cutting along the edge of the caulk. Be careful not to scratch the surface underneath. You can also use rubbing alcohol to help loosen it. After that, gently peel it away with your fingers.
What Cleaning Solutions Or Methods Are Recommended For Loosening And Removing Stubborn Caulk?
To remove stubborn caulk, you can use a few different methods. First, try heating it with a hairdryer. The heat helps loosen the caulk. You can also use vinegar or rubbing alcohol to soften it. If that doesn’t work, a putty knife or a caulk remover tool can help you scrape it off. Always remember to be careful with sharp tools!
Are There Any Specific Safety Precautions To Take When Working With Caulking Removal Products?
Yes, there are safety precautions to follow. First, always wear gloves to protect your hands. Use goggles to keep your eyes safe from splashes. Work in a well-ventilated area so you can breathe easily. Lastly, keep the product away from kids and pets.
How Can I Prepare The Surface After Removing The Old Caulking For A Fresh Application?
After you remove the old caulking, clean the area well. Use soap and water or a cleaner to get rid of dirt. Then, dry the surface with a cloth. Check for any old bits of caulk and make sure they are gone. Now you’re ready to put on the new caulk!
